JA2 Walkthrough - Tixa
J9 Tixa – Prison
Facts:
- Sector: J9
- Terrain: Desert
- Key building: Prison
- Civilians: Yes
- Militia: No
- Levels: 2
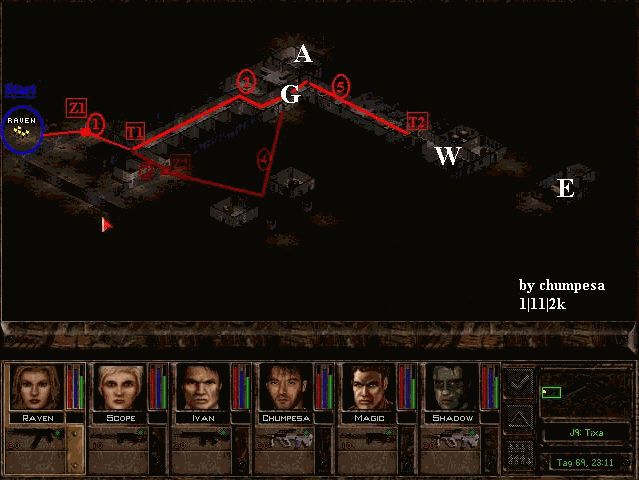
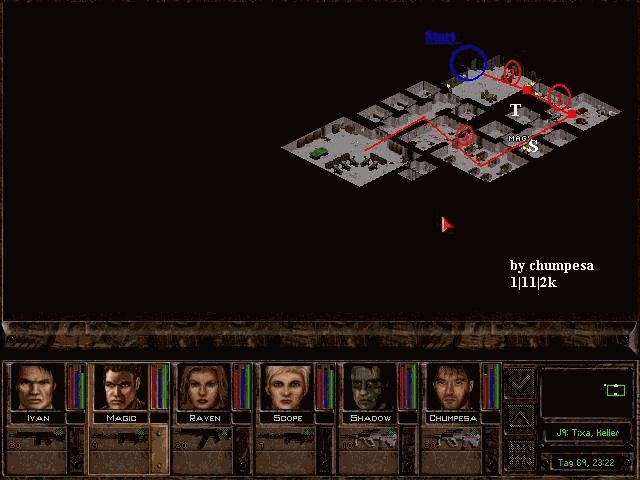
Map explanation:
- Start: Deploy mercenaries here.
- 1: Cut a hole in the fence at Z1 and advance to door T1.
- 2: Split the squad. One part opens the door and storms the building, regrouping at G.
- 3: The second part moves to Z2 and opens the fence.
- 4: Eliminate enemies outside, then advance to G to regroup.
- 5: The full squad clears the eastern part of the prison. Storm the mess hall and kill enemies behind door T2.
- A: Stairs to the basement of Tixa.
- G: Regroup point after steps 2–4.
- W: Warden, the prison director, awaits here.
- E: Her husband and children live here, but have no relevance.
This is Arulco's prison sector. Beneath it lies a high-security basement. Bring a merc with lockpicking skills for locked doors. Burst-fire weapons are effective in the narrow corridors.
Best approach: attack at night from the left side. Cut the fence at Z1 and advance to T1. Position the squad as shown.

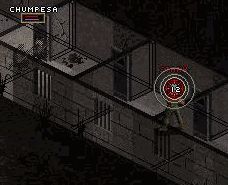
Split the squad: three enter and sweep the building. Watch for enemies in cells, especially if retaking Tixa. Once enemies are killed, a gas alarm triggers—tear gas grenades are released. All enemies wear gas masks, so tear and mustard gas are useless.
The rest of the squad advances to Z2, cuts the fence, and fights toward the center to encircle enemies. Regroup at G, then clear the eastern prison.
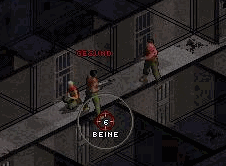
In the mess hall, smoke the entrance and enter under cover. Use hit-and-hide tactics in the next room: wound enemies, retreat behind cover, repeat. Then open door T2 and move east. Warden is armed with a MAC but is not a major threat.
In the house right of the prison, you meet her husband, who complains but has no role.
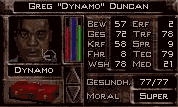
In one cell, you find the critically wounded Dynamo Duncan, brother of Alma's mine foreman Matt Duncan. Bringing Dynamo to Matt increases Alma's loyalty. At A, you find the stairs to the basement.
Tixa is usually retaken after one week, but only the surface.
© by chumpesa || special thanks to stalfensteinstiftung
Alternative strategy (thanks to Dr. Kill):
Bring gas masks, wire cutters, knives/machetes/suppressed weapons. In the southeast corner is Warden's home. Her husband Brewester reveals his unhappy marriage and gives you:
- The key to Warden's office.
- Instructions on the gas system.
Sneak into her office and kill Warden silently. Put on gas masks. Two switches are on the back wall: one triggers the alarm, the other releases tear gas. Trigger the gas only—soldiers won't have time to equip masks and collapse. Sweep the building quickly. Beware of enemies outside in the courtyard.
J9-1 Tixa – Prison Basement
Map explanation:
- Start: Entry point.
- 1: Advance to the eastern door and open it.
- 2: Fight to the barred gate and hold position until attackers are eliminated.
- 3: Clear remaining rooms.
- T: Gordon Jefferies, cannot be helped.
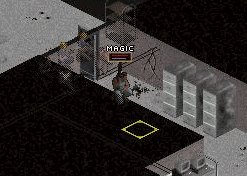
- S: Shank, recruitable, later provides fuel in Estoni.
This underground high-security prison holds Deidranna's worst enemies. Burst-fire weapons are effective in the small rooms. Loot often includes CAWS, ceramic plates, and Compound 18—worth liberating fully.
You enter in the northwest. Sneak to the right-hand door and open it. Enemies hide inside. Advance to the barred prison gate. Take cover there and kill soldiers rushing from the far room. If overwhelmed, retreat briefly and return.
Then move through the cell block into the next rooms to clear remaining enemies.
Two NPCs survived:
- Gordon Jefferies – wants to die in peace, cannot be helped.
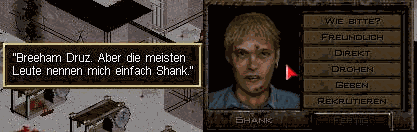
- Breeham "Shank" Druz – from Balime. His friend Jake in Estoni provides fuel if Shank is recruited and brought there. Estoni then becomes a helicopter landing site. Shank is weak in combat but learns quickly, useful for training militia, repairing, or guarding Tony in San Mona.
© by chumpesa || special thanks to stalfensteinstiftung