JA2 Walkthrough - Alma
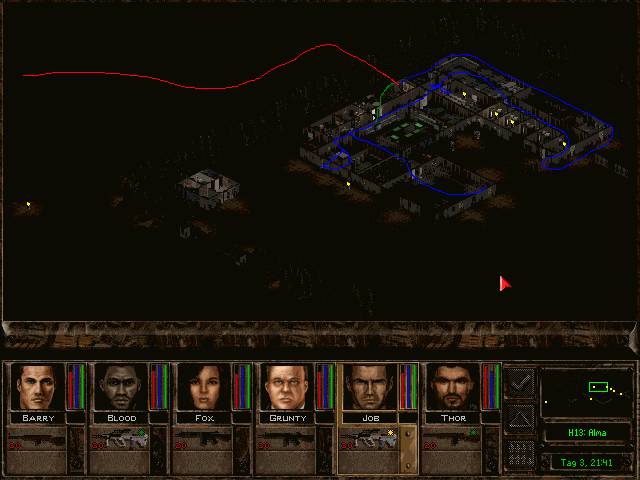
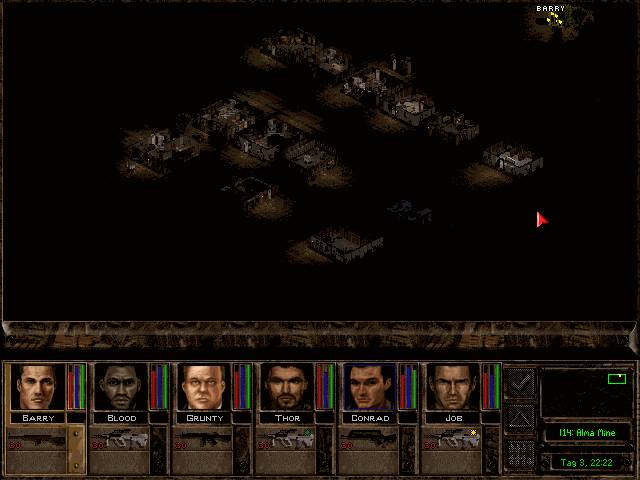
H13 Alma – City
When you march into Alma, you should already have a strong team and, above all, good weapons.
Since Alma is a military city, you will encounter military facilities and several elite soldiers (greyshirts). This may seem daunting at first, but the many weapons and equipment you can capture make the effort worthwhile.
Military Training Camp
NPCs: General, Sergeant Krott
RPC: Conrad Gillett
- Entire team
- Infiltration team
- Demolition team
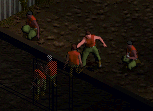
The entire camp is fenced in. Entering through the main gate may be polite, but it is not advisable. Cut through the northern fence and quickly move your mercs into cover along the wall. A sniper is on the roof—best to leave him alone for now.
Important: once the enemy notices you, a detonation will soon follow, destroying a rocket launcher and two equipment lockers. You must infiltrate silently and prevent this.
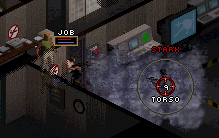
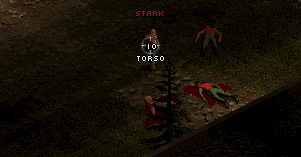
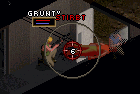
Two mercs with TNT, HMX, or C4 stay behind while the others sneak along the wall into the courtyard. Eliminate any guards quietly with suppressed weapons or knives. At the courtyard fence, send your mercs quickly through the right-hand door before anyone notices. Inside, you'll meet an elite enemy—dispatch him swiftly. Proceed cautiously, checking every corner and preparing for enemies in the hallways and mess hall. Vacuum grenades can help. Enemy numbers vary greatly, so stay flexible and fast.
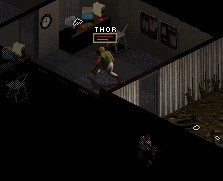
After clearing these areas, you'll reach a small anteroom with two doors: behind one is a guard, behind the other is Conrad, whom you can recruit now or later.
Next, you'll find Sergeant Krott. His room is wired with explosives controlled by a switch in the command center. If triggered, Krott is injured and the rocket launcher plus two lockers are destroyed. Speak with Krott now or later, but beware: after talking, he leaves through the command center, which may expose you if it's not secured.
Opening the command room door directly is dangerous—you'll likely be shot. Instead, set up mercs outside the door, then have the demolition team blast into Krott's locked room. Place the charge mid-wall to avoid damaging lockers. The guard inside usually dies in the blast.
Immediately open the command room door. Throw tear gas or smoke grenades inside for cover. Defend the switch at all costs—station a merc there and fire relentlessly.
Once secured, finish off the sniper on the roof and the guards at the entrance.
After victory, speak with Krott. He gives you the rocket launcher and boosts Alma's loyalty.
The General is hostile and will attack regardless of dialogue. He may attempt to trigger the explosives—stop him with a grenade.
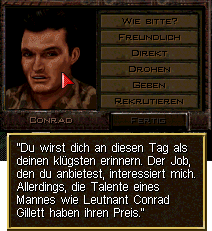
Recruiting Lt. Conrad Gillett is highly recommended. He is an excellent fighter. Speak with him using a merc with high leadership. Reject his first offer of $5500; he will lower it to $3300. In version 1.01, you can negotiate down to $2.
© by Job
Alternative Strategy (thanks to Dr. Kill):
Bring wire cutters, throwing knives, TNT + detonator, wine, and cigars. Enter at night from the north. Sneak in with a knife-thrower, cut the fence, and climb the roof. Eliminate the rooftop guard silently. Place TNT at the southwest wall of the U-shaped building to blast into the command center. Secure the switch and wait—enemies will come to you. Enjoy wine and cigars while holding position. After all enemies are dead, deal with the General and collect rewards from Krott. Conrad can be recruited or killed.
H14 Alma – Warehouses
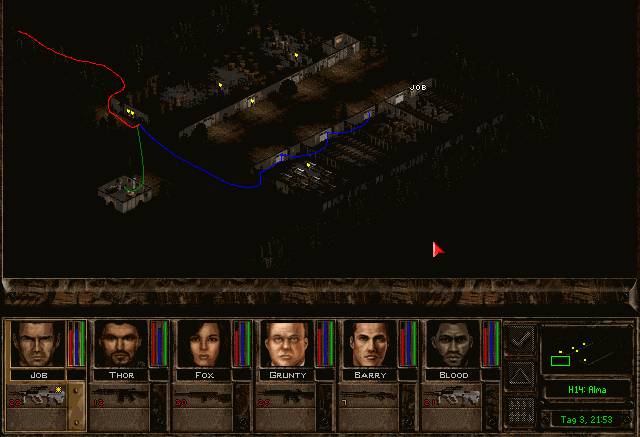
NPC: none
RPC: none
Cut through the northern fence to enter. All enemies are inside the two large warehouses. They won't leave until the switch in the guard hut is activated.
First, eliminate rooftop snipers, usually one on the southern roof. He often drops UV night-vision gear.
Position most mercs on the roofs, with two at the small side door of the upper warehouse.
Once the lever is pulled, enemies rush out. From the roofs, your mercs slaughter them easily.
Afterward, carefully clear the warehouses. In the southern hall, open doors with red switches. Then move to the northern hall, entering through the far-right side door. Beware of ambushes in the foyer. Advance along shelves and cover behind crates.

A second team can enter through the west door, but beware of explosive gas tanks. Enemies often gather in the center—shoot fuel barrels for devastating effects, but avoid destroying supply crates. Loot the area afterward for valuable weapons and gear.
I14 Alma – City/Mine
NPCs: Auntie, Matt Duncan
RPC: none
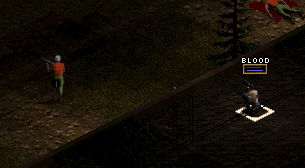
There is no single best tactic here. At night, avoid stepping into light beams near houses. Stay hidden as long as possible—enemies are spread out and can be silently eliminated with knives or suppressed weapons.
Beware the main street, where enemies may hide in houses or gather in groups. Use heavy weapons if needed.
Often, a foe shoots from the northern tavern window. Approach the door, pick or force it open, and interrupt him. Avoid the northern fence early on—enemies behind it cannot be surprised. Clear the rest of the sector first, then cut through and use trees for cover.
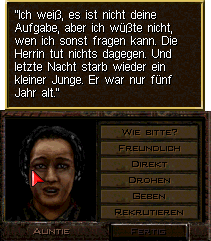
Auntie lives opposite the tavern. She tells you about a nearby Bloodcat cave. Clearing it raises Alma's loyalty.
The mine is run by Matt Duncan, who gladly hands over profits. He also mentions his brother Dynamo, imprisoned in Tixa. Freeing Dynamo allows recruitment and boosts Alma's loyalty after he reunites with Matt.
I13 Alma – Military Prison
NPC: none
RPC: none
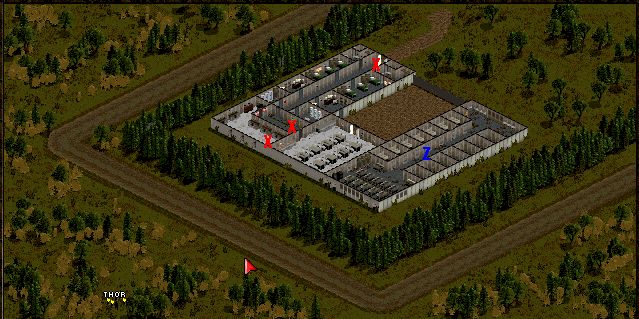
If a merc is captured, he may be held here. You can rescue him. Gas traps pose no danger to prisoners.
Z = Cell block
X = Possible enemy positions
The prison is fenced and guarded. Sneak in with camouflaged mercs, cut the fence, and take cover along the wall to avoid rooftop snipers. Collect keys and code cards from fallen enemies.
Stealth is nearly impossible. If you try, eliminate fence guards first, then enter through the north door. Easier is to split into two squads: one storms the roof to surprise snipers, the other positions at the north door but waits.
Roof squad secures positions around the courtyard, gaining many interrupts as enemies pour out.
Advance to the roof edge and cover the courtyard. Descending is risky—use smoke grenades for cover. Safer to drop at courtyard corners, though not foolproof. Once down, storm adjacent rooms.
Avoid pushing too deep into the mess hall, or you risk fire from the cell block.
Now activate team 2. Carefully open the north door and eliminate idle guards. Do not rush the hallway—an enemy with a shotgun waits behind the door. Another may be in the gas control room.
The torture room may also hold an enemy. The final obstacle is the cell block (Z), where one or two enemies may ambush mercs near the door. Best option: blast part of the wall. Alternatively, cover the door with smoke and pick or force it open.